Robot Car DC Motors
Step 1 is prepare the 4 robot car DC motors for installation onto the robot cars bottom acrylic chassis base in step 2.
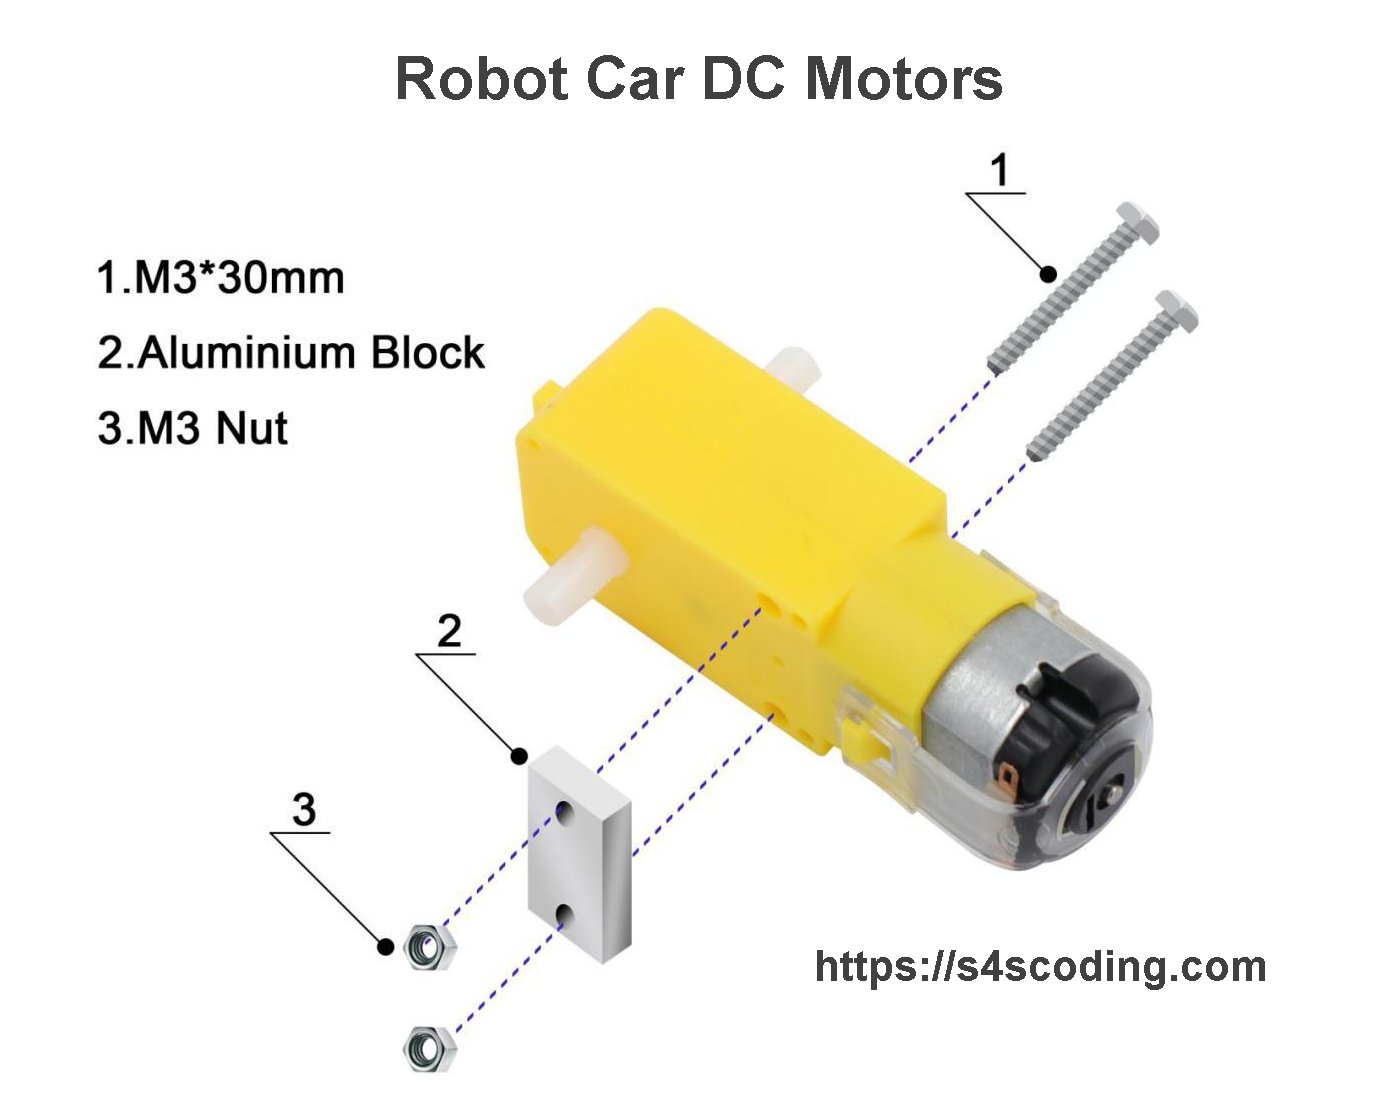
For each DC motor you will need:
- 1x Robot Car DC Motor
- 2x M3*30mm Bolts
- 2x M3 Nuts
- 1x Aluminum Block
The Arduino UNO car kit is well organised, all the aluminum blocks and bolts/nuts for step 1 and step 2 are held in a single zip lock bag with a Motor: label listing the contents.
Robot Car DC Motors Notes
Not shown in the image above, the motors each have two wires soldered to the DC motors ready to attach to the L298N Motor Driver Board. Place the Aluminum Block on the same side as the soldered wires so when the smart robot car is complete the wires are safely stored on the inside of the car so the solder is less likely to be broken when in use.
Continue Reading Arduino UNO Smart Robot Car Kit Instructions


Arduino IDE Software Folder #Arduino #Software...
Visual Programming Language Blocks: Scratch, Blockly, MIT App Inventor 2 #MIT #Coding #Scratch #Blockly...
Google Blockly Games Maze 10 Solution #Blockly #Javascript #Coding...
Scratch Primary School Users #Scratch #Coding #School...
Do primary school pupils understand a Scratch script running a Broadcast block does NOT wait...
Enable SSH on Your Raspberry Pi #RaspberryPi...